

“Dreaming is good but implementation is success” ― Paballo Seipei
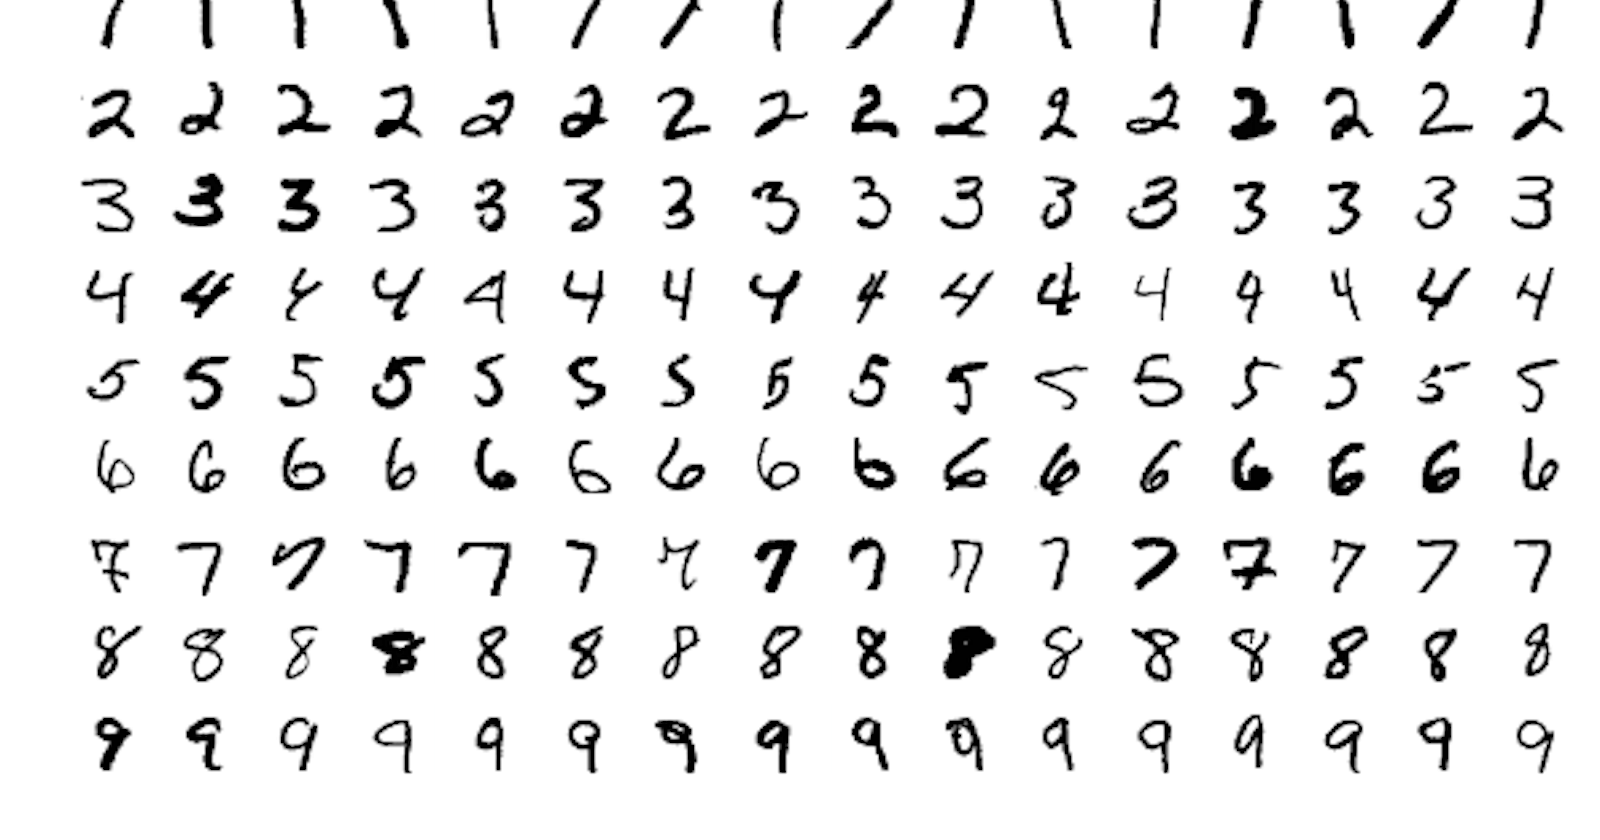
Implementation of MNIST is just like "Hello World" program of deep learning world. MNIST dataset contains 60000 labeled images of numerical digits of shape 28x28x1 collected from 250 participants. Today we will be working with tensorflow 2.0 which include keras API. The syntax easy to understand even for beginners .
So, lets start with importing necessary libraries
import tensorflow as tf
import numpy as np
import matplotlib.pyplot as plt

from tensorflow.keras.datasets import mnist
MNIST dataset comes with tensorflow as an example dataset. we can directly import it
(x_train,y_train),(x_test,y_test)=mnist.load_data(path='mnist.npz')
The data is already split into 50000 for training and 10000 for testing.The images need to be normalized, normalization here means squeezing the pixel value between 0-1.
x_train=tf.keras.utils.normalize(x_train, axis=1)
x_test=tf.keras.utils.normalize(x_test, axis=1)
Now we are ready to define our model
model = tf.keras.models.Sequential([
  tf.keras.layers.Flatten(input_shape=(28, 28)),
  tf.keras.layers.Dense(128, activation='relu'),
  tf.keras.layers.Dropout(0.2),
  tf.keras.layers.Dense(10)
])
You might be wondering what all this fuction does, well it can be simplified as followed
- Defining a sequential model read more
- Flattening the 28x28x1 metrics into 1D vectors
- This vectors are fed through the input layer of the network of 128 node
- Some weights are dropped to avoid overfitting
- In the end we have 10 nodes representing digits from 0-9
A simple model like this still achieves ~ 95% accuracy, changes can be made by adding a bunch of convolution and hidden layers to achieve even higher accuracy
model.compile(optimizer=tf.keras.optimizers.Adam(learning_rate=0.001),
              loss=tf.keras.losses.SparseCategoricalCrossentropy(from_logits=True),
              metrics=['sparse_categorical_accuracy'])
The compile() method takes parameter necessary for training which include
(Optimizer, Loss function, Metrics) read more
model.fit(x=x_train,y=y_train,batch_size=64,epochs=10)
fit() method trains the model using training images and labels. training is the most boring part of the entire process, if everything goes right then the training will look like this.
Epoch 1/10
938/938 [==============================] - 1s 1ms/step - loss: 1.5903 - sparse_categorical_accuracy: 0.8861
Epoch 2/10
938/938 [==============================] - 1s 1ms/step - loss: 1.5225 - sparse_categorical_accuracy: 0.9420
Epoch 3/10
938/938 [==============================] - 1s 1ms/step - loss: 1.5077 - sparse_categorical_accuracy: 0.9561
....
To test the model we will use evaluate() and predict() method
test_loss, test_acc=model.evaluate(x=x_test,y=y_test)
print('\nTest accuracy:{0} %'.format(round(test_acc*100, 2)))
The evaluate method returns loss and accuracy by using the test data
313/313 [==============================] - 0s 576us/step - loss: 1.4915 - sparse_categorical_accuracy: 0.9696
Test accuracy:96.96 %
Lastly we will be testing with a random image from the test images, the predict() method saves the values from the output layer as 1D vector of length 10
predictions=model.predict(x_test)

print("The digit is {0}".format(np.argmax(predictions[0]))

plt.imshow(x_test[0], cmap="gray")
plt.show()
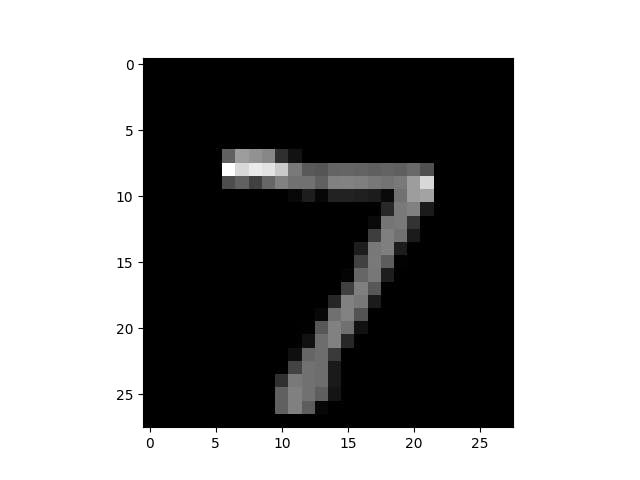
The digit is 7
And the model can be saved by using the save() method for future use, This code can also be used to train cifer10, mnist fashion datasets with a little bit of modification.
Now where it can be used-
- captcha solver
- handwritten to text conversion(using emnist)
- and many more
You've made it to the end of this article, I hope it explains the concept basic methods of tensorflow 2.0 using mnist to you.